LOCAL
Stored on this workstation or directly attached storage. Best starting point for individual work.
A clean project protects the edit, keeps media findable, and gives the colorist room to focus on the image instead of fighting the workflow.
TODAY'S PATH
THE GOAL Build a project another person—and future you—can understand.
Each layer has a different job. Keeping those jobs distinct makes the project easier to move, troubleshoot, and finish.
WORKFLOW IS CREATIVE SUPPORT. Organization should make visual decisions easier—not become the assignment.
The Project Manager is the front door. The Project Library is the system that stores the projects you see there.
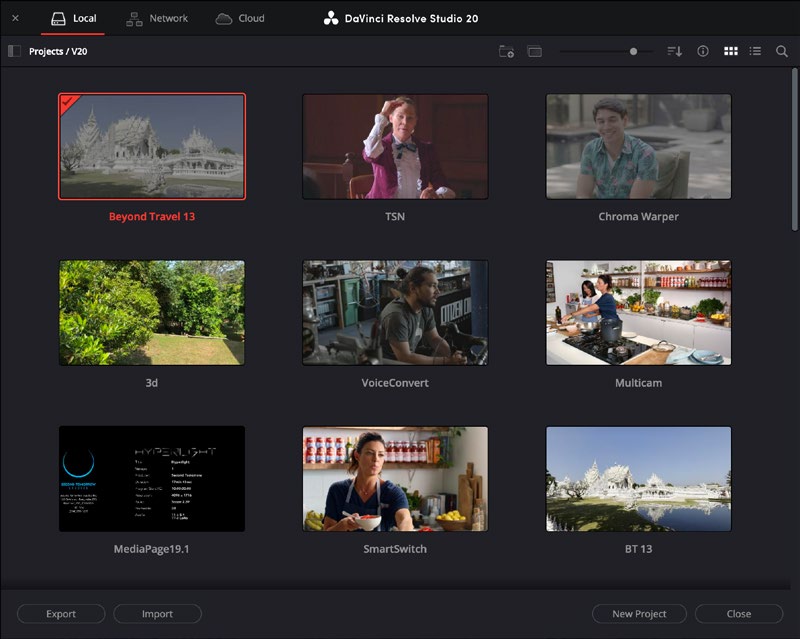
Stored on this workstation or directly attached storage. Best starting point for individual work.
Hosted for multiple workstations on the same network.
Hosted through Blackmagic Cloud for invited collaborators in different locations.
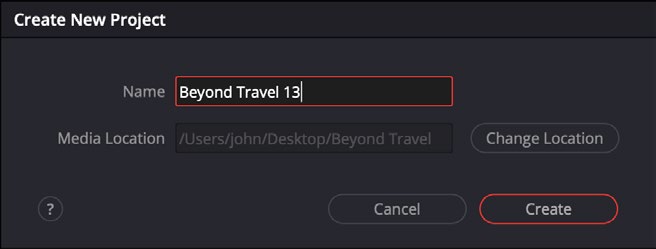
START SIMPLEName the project clearly. Confirm its media location and create it inside the correct library.
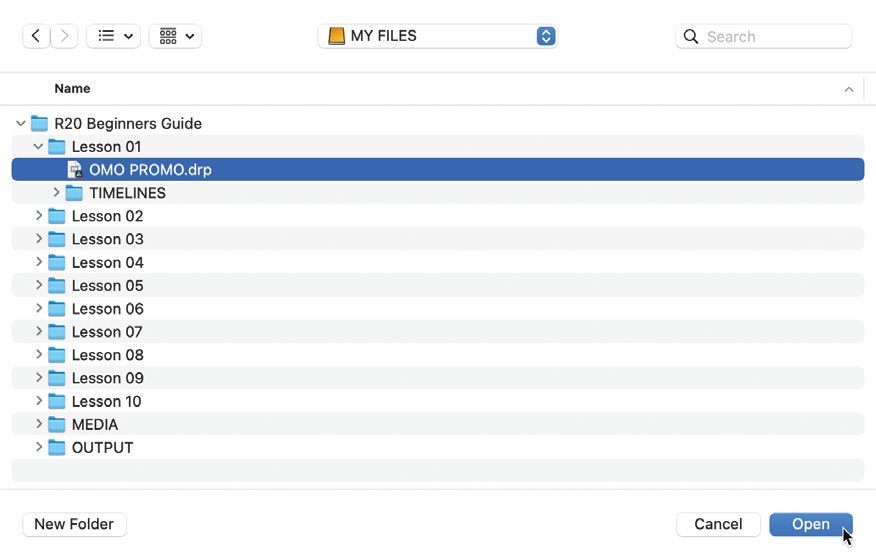
A DaVinci Resolve Project file is a portable copy of project data. Importing it places a copy inside the current Project Library.
INCLUDES Settings, bins, clip links, timelines, edits, and grades.
DOES NOT INCLUDE Original video and audio media.
Select the `.drp`. Resolve copies the project into the current library.
Save a portable `.drp` at a deliberate location with a useful name.
A `.drp` is a project handoff. It is not a complete media backup.
Source: Beginner's Guide, pp. 3–5 Source: Resolve 20.3 Reference Manual, pp. 79–80Browse source files in Media Storage. Add the clips you intend to use to the Media Pool.
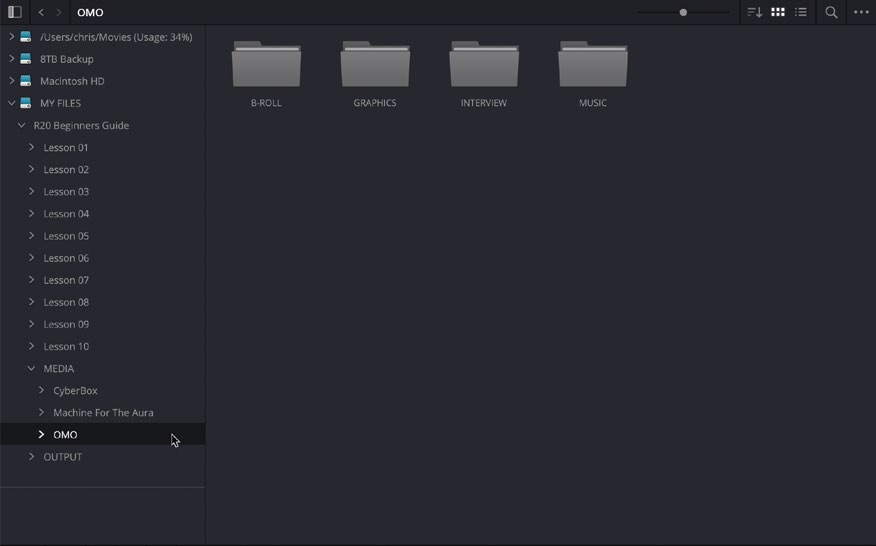
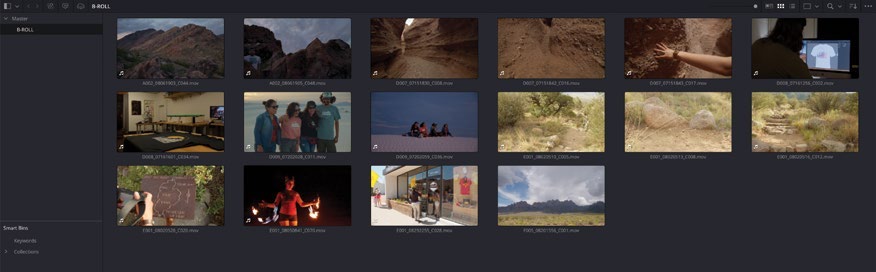
01Find the source folder.
02Preview and verify clips.
03Select the destination bin.
04Add or drag media into the Media Pool.
A bin is a project folder inside the Media Pool. Use a small, predictable structure that matches the material and the work ahead.
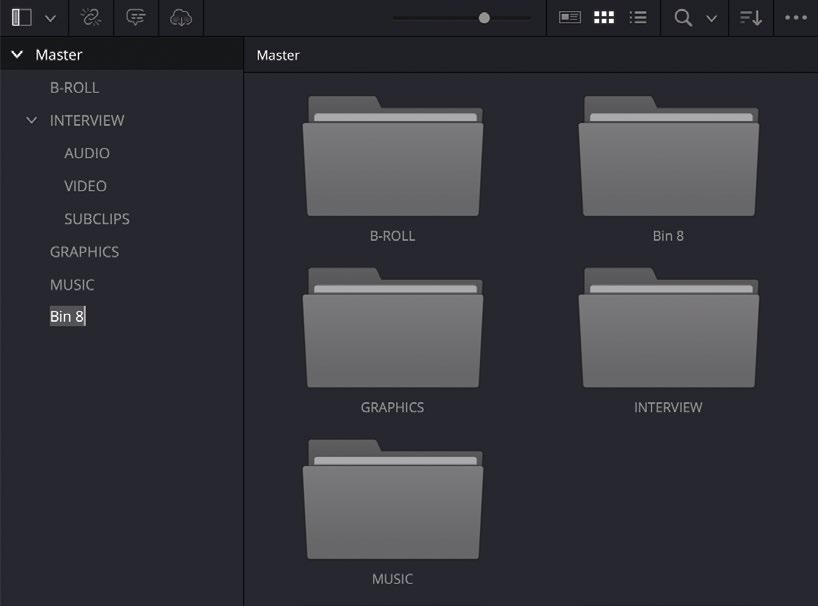
NAME FOR RECOGNITION.Use plain names your collaborator will understand.
SEPARATE MEDIA FROM TIMELINES.Don't make the Master bin a junk drawer.
ORGANIZE ENOUGH.The structure should serve the work, not slow it down.
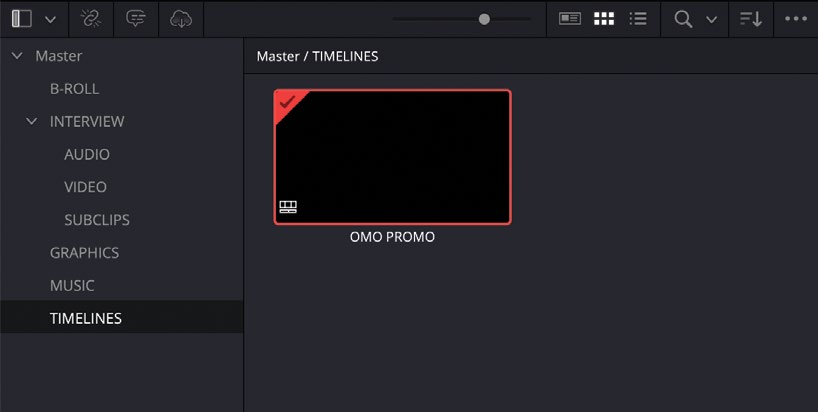
A timeline is the edited sequence. By default, a new timeline uses the project’s timeline settings and is stored in the currently selected Media Pool bin.
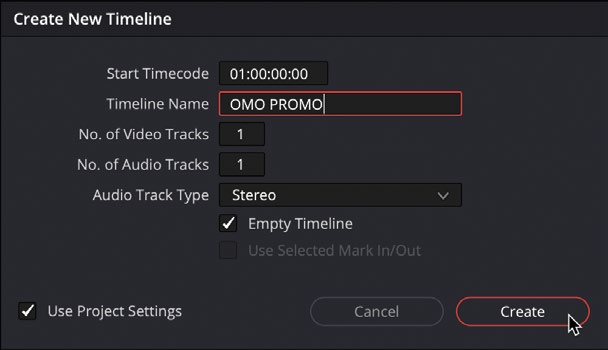
01Select the TIMELINES bin.
02Choose File → New Timeline.Cmd/Ctrl + N
03Give the timeline a clear name.
04Keep “Use Project Settings” checked for today.
Move between pages as the job changes. The media, timeline, and grade remain parts of the same Resolve project.
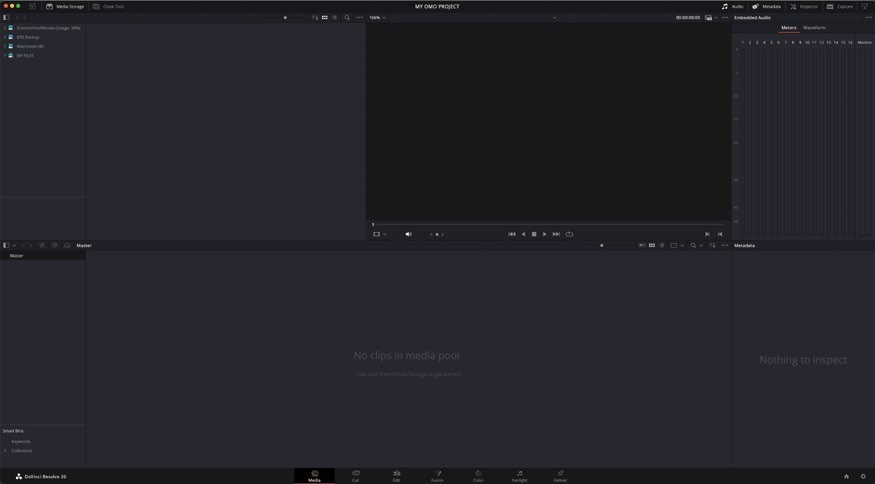
Import, inspect, and organize source media.
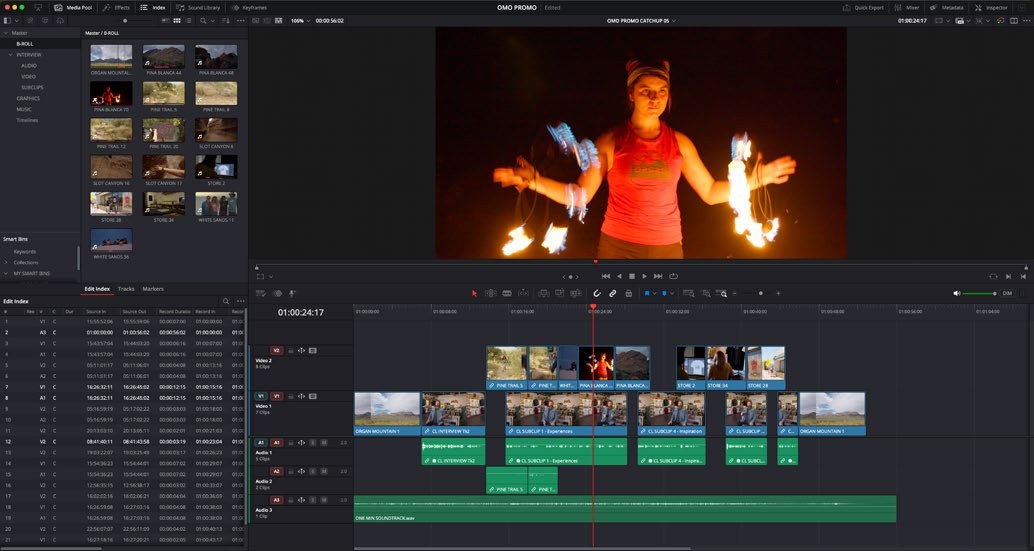
Create and work with the timeline.
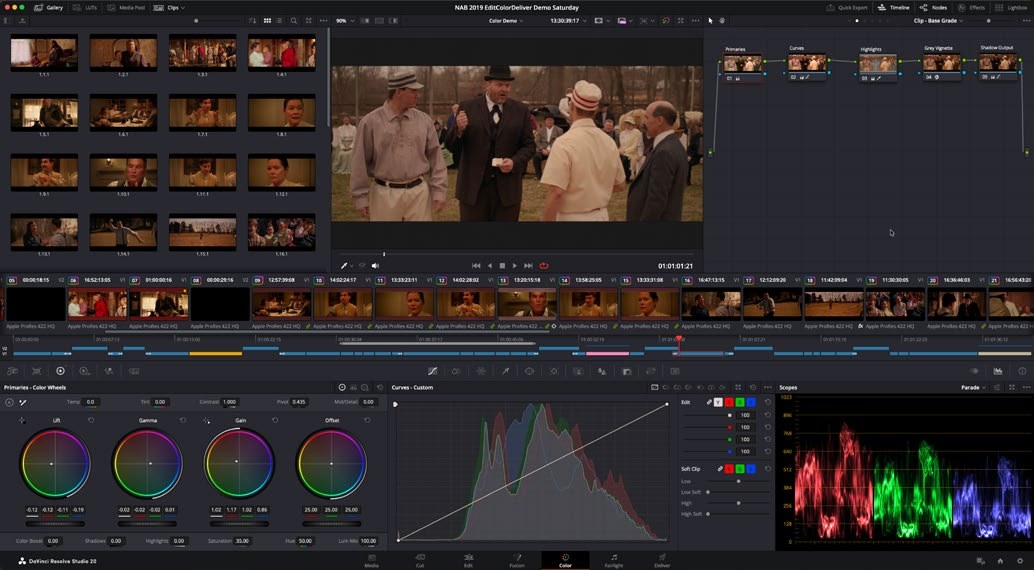
Evaluate the timeline and shape the image.
You can move freely. The page strip is a workflow map—not a locked sequence.
Use layers of protection. One command cannot protect the project, the media, and the ability to move the work.
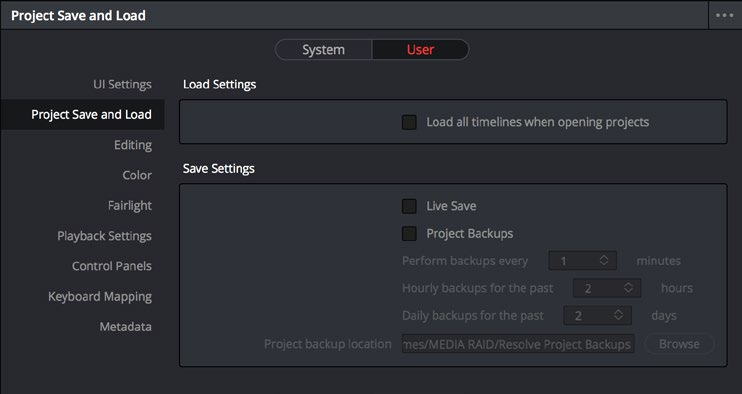
Writes the current state of the project.
Incrementally saves changes as you work.
Keeps periodic, retrievable project versions.
Creates a portable project file you control.
A USEFUL HANDOFF MAY NEED
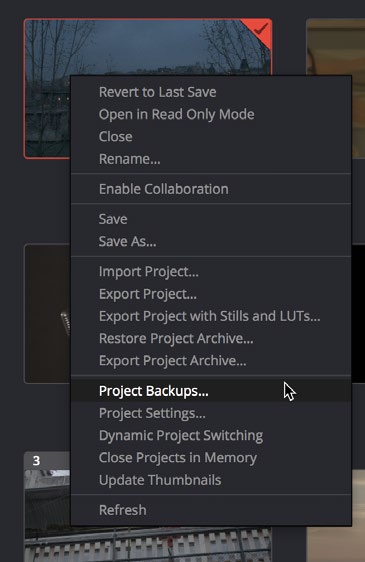
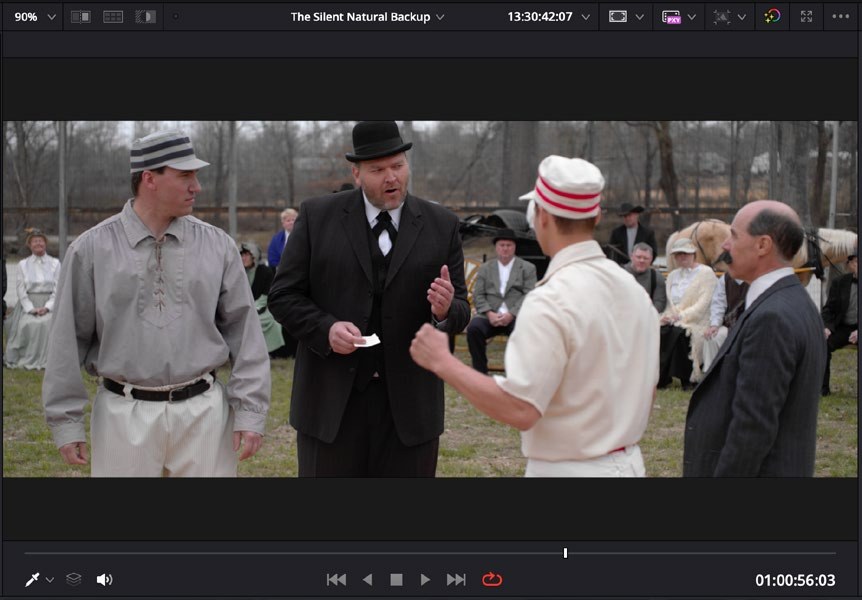
Backups open as independent projects.Loading one does not overwrite the original project.
Project setup gets the material to the Color Page. A shared visual language tells us what to do once we arrive.
END OF CLASS
01Open the correct Project Library.
02Import or create a clearly named project.
03Link media and organize it into useful bins.
04Create a basic timeline in the TIMELINES bin.
05Navigate Media → Edit → Color.
06Save, back up, and export a portable `.drp`.
07State how you want the image to feel.
Interface screenshots are educational excerpts from official Blackmagic Design training and reference materials.
The Beginner's Guide to DaVinci Resolve 20 ↗DaVinci Resolve 20.3 Reference Manual ↗DaVinci Resolve is a trademark of Blackmagic Design. This course reference is not an official Blackmagic Design publication.